Video Player is loading.
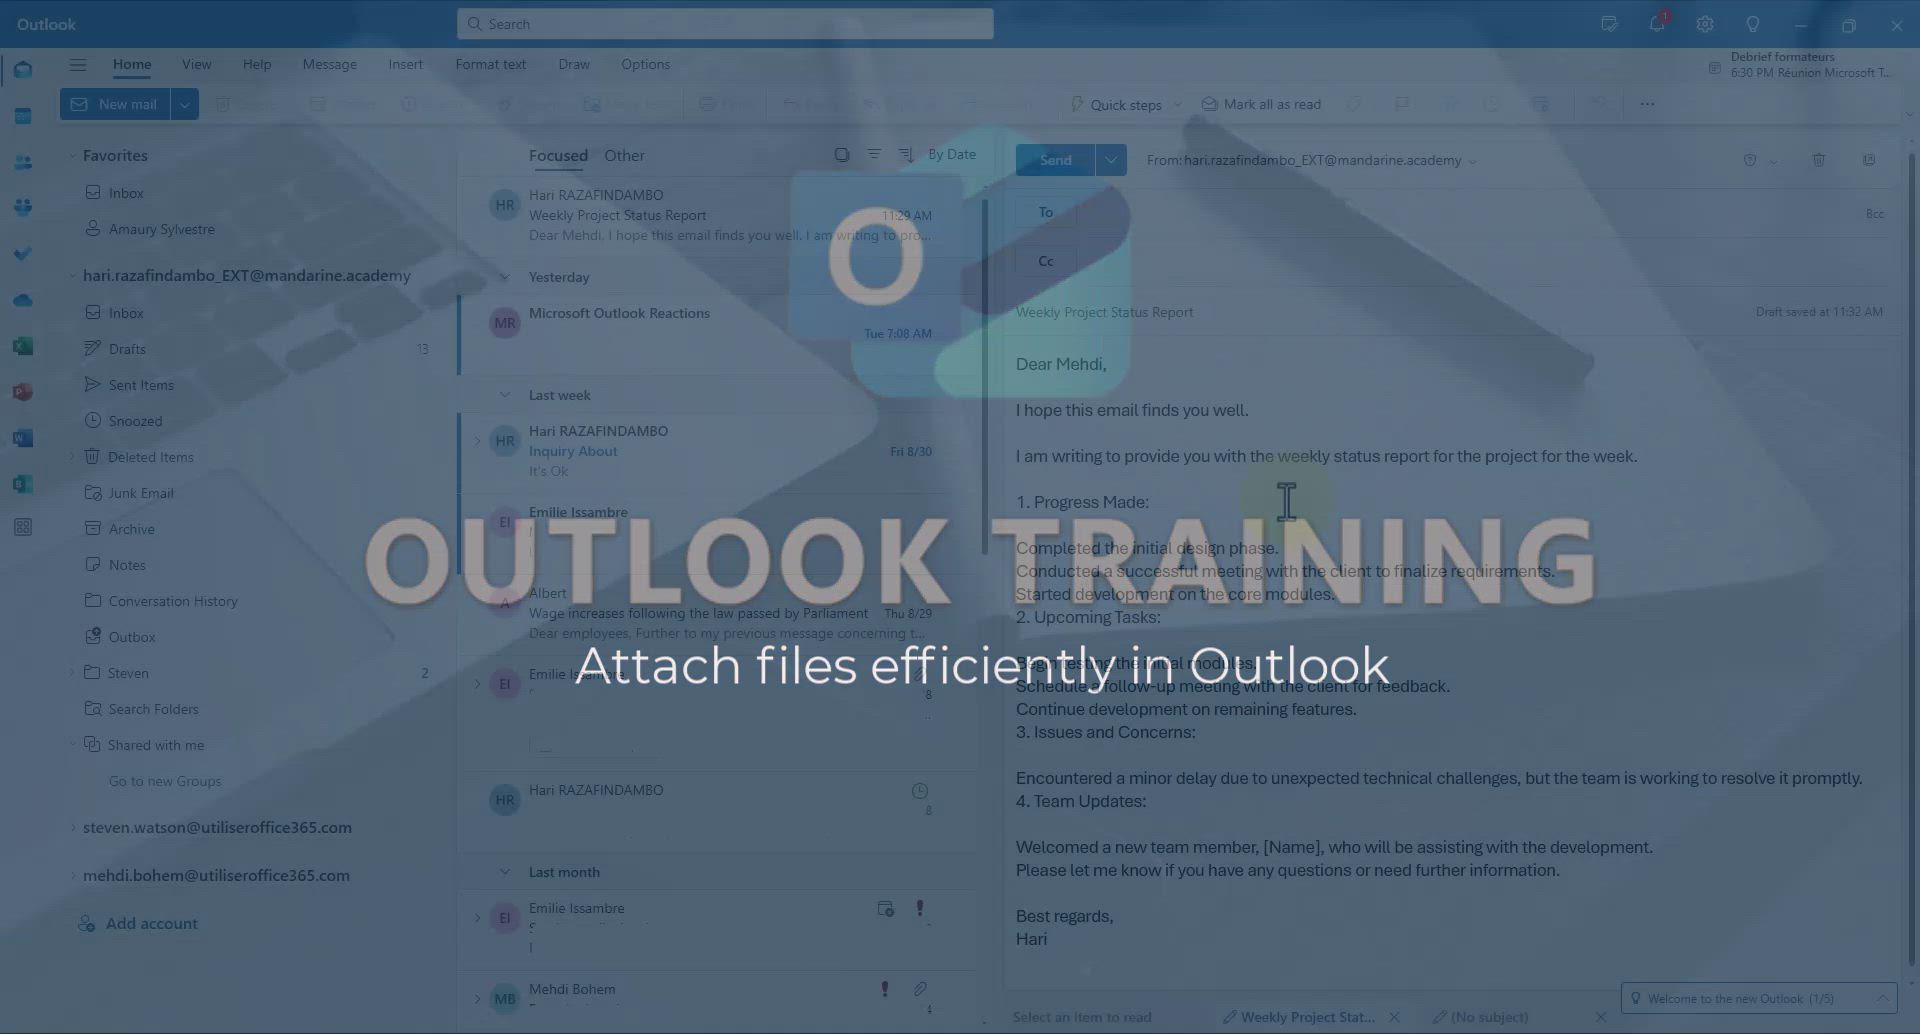
Discover how to efficiently attach files in Outlook! Learn to easily select files from your computer, OneDrive, or recently viewed files. Explore different permission settings for sharing links and overcoming sharing restrictions. Additionally, find out how to upload and share files through OneDrive. Master the art of sending attachments in Outlook with these insightful tips!
OneDrive - What is OneDrive ?
Copilot (licence) - Use Copilot with Right-Click
Outlook - Create and modify a group
OneDrive - Edit, Delete a Share
Power BI - Introduction to Power Bi
Teams Premium - Activate the features of Teams Premium
Teams Premium - Optimize Teams Premium settings in Administration
Viva Engage - The role of an administrator
How do I prevent the transfer of an email?
Change the default font for your emails
Answering a scheduling poll
Create a scheduling poll
Saving a message
Create and modify a group
Use the scheduling poll dashboard
Tell me what you want to do
How do I block a sender?
Delay or schedule e-mail sending
Discovering the Outlook 2016 interface
Join a group
Accessing applications from a group
Organizing your messages using rules
Presentation of the task module
How do I share a document securely with Outlook?
Attach a message, a contact, a file, or a task
Automatically mark deleted emails as read
Recall or replace an e-mail you sent
Creating a group
Sending automatic replies
Create a task and create a recurring task
Introducing Outlook
Recover deleted items
Create a task from a message
Process a received message
Translate your emails into Outlook
Request a read receipt or confirmation of delivery
Let Outlook read your emails out loud
Insert elements into the mails (table, graphic, images)
How to launch a New Teams Meeting in Outlook
Manage Your Working Time in MyAnalytics
Presentation and discovery of contacts
Create an e-mail message
Respond to a meeting
Creating a draft
Schedule sending emails in Outlook
Calendar delegation
Organizing in folders
Using conversation mode
Export contacts from Outlook
Discover the new simplified ribbon
Schedule a meeting
Import contacts into Outlook
Create a contact & add and use contacts
Dictate email messages in Outlook
Temporarily turn off notifications
Manage recurring appointments
Getting Started with Outlook Mobile App
Sharing the calendar
Manage displays
Publish the calendar
The Bcc field in detail
Creating an e-mail template
Quickly sort emails
Fill in your work schedules in Outlook
Display 3 time zones
Using categories
Ribbon preview
Create a contact group & Communicate through contact groups (distribution list)
Sorting & searching your mails
Introducing Office 365 Groups
Set or remove reminders
Prevent recipients from forwarding emails
Clutter
Junk email
Cleaning your inbox
Assigning a task
Identify meeting members
Printing messages
Prevent forwarding of a meeting
Conduct surveys
Using the Scheduling Assistant
How do I recognize a fraudulent email?
Custom your personal reminders and notifications
Open a shared calendar
Make your Outlook signature accessible
Show other people's calendar
Edit and customize views
Create and add a signature to messages
Remove a member from a group
Having a conversation within a group
Create an appointment
Manage attachments
How to protect an email by encryption?
Create a meeting in the group calendar
Manage new message notifications
Go further with Outlook Mobile
Presentation and discovery of the calendar
Expand your LinkedIn network via Outlook
Outlook Mobile for Daily Use
General security practices in Outlook
Improving email accessibility
Improve the accessibility of your images in emails
Add accessible tables and lists
Edit or delete an appointment, meeting or event
Reply to and react to a Teams conversation in an e-mail
Draft an Email with Copilot
Summarize Email Threads with Copilot
Improve Email Writing with Copilot Coaching
Search from emails with Copilot
Organize Your Messages with Rules
Task Module Overview
Recover deleted items
The Bcc Field in Detail
Edit or delete an appointment, meeting or event
Request a Read Receipt or Delivery Confirmation
Grant delegate access in Microsoft 365 administration
Create a reminder for yourself
Insert Elements in Emails (Tables, Charts, Images)
Create your reservation page for appointment booking (Bookings)
Send an Email and Create a Draft in Outlook
Add and manage multiple accounts on Outlook
Send a survey or questionnaire by email
Set Your Work Hours in Outlook
Use the Meeting Dashboard
Manage new message notifications
Create and add a signature to messages
Block a sender
Create different types of events
Create an appointment or meeting
Presentation and introduction to the calendar
Send Emails on Behalf of Someone Else
Explore the Interface
Process an incoming message
Create a Meeting Poll
Sort and filter emails
Recall or replace an e-mail message
Share a task list
Save and Print a Message
Respond to a Meeting Poll
Create a task or reminder
Edit and customize views
Add Accessible Tables and Lists
Manage Teams online meeting options
Add a third-party application
Create a task from a message
Respond to a meeting
Change the default font of your emails
Organize into Folders
Create an Email Template
Send Automatic Out-of-Office Replies
Open a Shared Calendar
Introduce the new version of Outlook
Manage Views
Use the Scheduling Assistant
Improve Email Accessibility
Collaborate directly during an event with Microsoft Loop and Outlook
Create a collaborative email with Microsoft Loop and Outlook
Search options
Make Your Outlook Signature Accessible
Prevent transfer for a meeting
Calendar Delegation Setup
Share a document securely with Outlook
Use a Shared Mailbox
Prepare for Time Out of Office (Viva Insights)
Share Your Calendar
Automate Routine Actions
Improve the Accessibility of Images in Emails
Mailbox Delegation Setup
Create and Manage Appointments in Delegated Calendars
Identify a fraudulent email
Delay Email Delivery
Prevent the forwarding of an email
Use Categories
View Other Calendars
Translate Emails in Outlook
Clean Up Your Inbox
Use Conversation View
Streamline Note-Taking with OneNote and Outlook
Protect an email by encrypting
Use the Immersive Reader Feature
Respond to invitations as a delegate
Display Three Time Zones
Provide an overview of best security practices in Outlook
Respect Your Colleagues' Off Hours (Viva Insights)
Easily Sort Your Mails
Introduction to Microsoft Outlook
Dictate Your Email to Outlook
Reply to an Email with Copilot
Plan with Copilot
Create a quick poll in Outlook with Microsoft Forms
Accessing applications from a group
Creating a group
Sending a private message or replying to one
Getting Started with Outlook Mobile App
Use Presenter view
Introducing Office 365 Groups
Deliver your presentation
Having a conversation within a group
Go further with Outlook Mobile
Expand your LinkedIn network via Outlook
Outlook Mobile for Daily Use
Unleash the potential of your collaboration with Teams Premium
Publishing or replying to a message in a group
Inform your Team about Changes
Send and collect responses in Microsoft Forms
Set up your survey or quiz before sharing it to collect responses
Break language barriers with automatic translation
Join a meeting as a participant
Start an instant meeting
Responding or Reacting to a Message
Draft an Email with Copilot
Send an Email to a Team
Schedule Message Delivery
Starting a Conversation
Posting in a Channel
Sharing Content in a Meeting
Register as a Participant in a Teams Webinar
Improve Email Writing with Copilot Coaching
Copilot in Teams Conversations
Creating a Form with Copilot
Use the Copilot Conversation Pane in Word
Chat, Get Inspired, and Search with Copilot
Start and Manage Your Event with Multiple People
Use Viva Insights in Conversations
Participate in a Town Hall
Moderate the Chat During a Town Hall
When and Why to Use Town Hall
Test Your Event with the Green Room
Differentiate Between Meeting Types
Plan and Launch a Town Hall
Communicate Behind the Scenes
End the Event and Gather Statistics
Start and Manage Your Event Alone
Prepare Your Webinar with Microsoft Teams
Add Interactivity to Your Teams Webinar
Ensure Your Webinar Options Before Launching
Request a Read Receipt or Delivery Confirmation
Insert Elements in Emails (Tables, Charts, Images)
Send an Email and Create a Draft in Outlook
Send a survey or questionnaire by email
Manage new message notifications
Create and add a signature to messages
Send Emails on Behalf of Someone Else
Process an incoming message
Recall or replace an e-mail message
Send Automatic Out-of-Office Replies
Prepare for Time Out of Office (Viva Insights)
Prevent the forwarding of an email
Translate Emails in Outlook
Use Conversation View
Protect an email by encrypting
Introduction to Microsoft Outlook
Dictate Your Email to Outlook
Personality and tone for a believable rendering
Format and example for optimal results
The Importance of Context in Your Applications
Task Accuracy in Prompting
The Basis of Prompting in Conversational AI
What is a prompt in conversational AI?
Extract Text from an Image
Reply to an Email with Copilot
Create SharePoint Pages with Copilot
Query an Attached Meeting
Plan with Copilot
Share Requests with Your Team
Translate a presentation
Generate a Video
Add Speaker Notes
Initiate a project budget tracking table with Copilot
Develop and share a clear project follow-up with Copilot
Organize an action plan with Copilot and Microsoft Planner
Structure and optimize team collaboration with Copilot
Copilot at the service of project reports
Initiate a tracking table with ChatGPT
Distribute tasks within a team with ChatGPT
Generate a meeting summary with ChatGPT
Project mode
Create an agent for a team
Install and access Copilot Studio in Teams
Analyze the Copilot Studio agent
Publish the agent and make it accessible
Copilot Studio agent settings
Add new actions
Create a first action
Manage topics
Manage knowledge sources
Create an agent with Copilot Studio
Access Copilot Studio
Get started with Copilot Studio
Introduction to PowerBI
Introduction to Microsoft Outlook
Introduction to Microsoft Insights
Introduction to Microsoft Viva
Introduction to Planner
Introduction to Microsoft Visio
Introduction to Microsoft Forms
Introducing to Microsoft Designer
Introduction to Sway
Introducing to Word
Introducing to SharePoint Premium
Create a call group
Use call delegation
Assign a delegate for your calls
Ring multiple devices simultaneously
Use the "Do Not Disturb" function for calls
Manage advanced call notifications
Configure audio settings for better sound quality
Block unwanted calls
Disable all call forwarding
Manage a call group in Teams
Update voicemail forwarding settings
Configure call forwarding to internal numbers
Set call forwarding to external numbers
Manage voicemail messages
Access voicemail via mobile and PC
Customize your voicemail greeting
Transfer calls with or without an announcement
Manage simultaneous calls
Support third-party apps during calls
Add participants quickly and securely
Configure call privacy and security settings
Manage calls on hold
Live transcription and generate summaries via AI
Use the interface to make and receive calls
Draft a Service Memo
Extract Invoice Data and Generate a Pivot Table
Formulate a Request for Pricing Conditions via Email
Analyze a Supply Catalog Based on Needs and Budget
SharePoint Page Co-Editing: Collaborate in Real Time
Other Coaches
Agents in SharePoint
Prompt coach
Modify, Share, and Install an Agent
Configure a Copilot Agent
Describe a copilot agent
Rewrite with Copilot
Analyze a video
Use the Copilot pane
Process text
Create an insights grid
Generate and manipulate an image in PowerPoint
Interact with a web page with Copilot
Create an image with Copilot
Summarize a PDF with Copilot
Analyze your documents with Copilot
Chat with Copilot
Particularities of Personal and Professional Copilot Accounts
Data Privacy in Copilot
Access Copilot
Use a Copilot Agent
Edit in Pages
Generate and manipulate an image in Word
Create Outlook rules with Copilot
Generate the email for the recipient
Action Function
Search Function
Date and Time Function
Logical Function
Text Function
Basic Function
Categories of Functions in Power FX
Introduction to Power Fx
The New Calendar
Sections
Customizing Views
Introduction to the New Features of Microsoft Teams
Guide to Using the Microsoft Authenticator App
Turn on Multi-Factor Authentication in the Admin Section
Manual Activation of Multi-Factor Authentication
Concept of Multi-Factor Authentication
Use the narrative Builder
Microsoft Copilot Academy
Connect Copilot to a third party app
Share a document with copilot
Configurate a page with copilot
Use Copilot with Right-Click
This guide aims to provide a comprehensive understanding of how to quickly add attachments in Outlook, covering various methods and settings for sharing files effectively.
To attach a file in Outlook, start by drafting a new email, then click on the 'Insert' tab. From there, select the 'Attach File' option, choose the file you want to attach from your computer or OneDrive, and then send your email.
OneDrive is Microsoft's cloud storage service. In Outlook, you can attach files directly from OneDrive, allowing you to share files stored in the cloud instead of sending them as attachments.
Permission settings determine what actions your recipients can take with the shared file. You can choose options like 'can edit', 'can view', or 'can view but not download' when sharing a file from OneDrive.
If your recipient cannot access a shared link, you will need to send the file as a direct attachment in your email, as there may be restrictions on sharing links with external recipients.
Yes, you can upload files to OneDrive directly from Outlook using the 'Upload and Share' feature, which allows you to select a file from your computer and upload it to your OneDrive account.
When working on a project, team members can use Outlook to send project files as attachments or share links to files stored in OneDrive, ensuring everyone has access to the latest documents.
For large files that exceed email size limits, professionals can upload the files to OneDrive and share the link with clients, adjusting permission settings to control access.
Using Outlook, teams can collaborate on documents by sharing links to files stored in OneDrive, allowing multiple users to edit the document simultaneously while managing permissions.
Users can upload files to OneDrive from Outlook and organize them into folders, making it easier to manage and locate files for future reference.
When sharing files with external partners, organizations can use Outlook to send attachments or links while applying strict permission settings to protect sensitive information.
A personal information manager from Microsoft, primarily used as an email application but also includes calendar, task manager, contact manager, note-taking, journal, and web browsing.
A section in the Outlook ribbon that provides options to add various elements to an email, including attachments.
An option in Outlook that allows users to add files to their email messages.
A cloud storage service from Microsoft that allows users to store files and access them from any device with internet connectivity.
A cloud computing environment that is used by organizations to store and manage data securely, often with specific access restrictions.
Options that determine what actions recipients can take with shared files, such as editing, viewing, or downloading.
A feature that allows users to upload files from their computer to OneDrive and share them with others.
An option that allows users to select a different folder or location in OneDrive for storing uploaded files.

Curious about OneDrive? Discover how this essential Microsoft 365 tool transforms your cloud storage experience! From personal online libraries to seamless collaboration, OneDrive offers access across devices. Learn about its multiple versions and features that simplify your workflow. Don't miss out—dive in now!

Unlock the power of CoPilot in Excel with right-click functionality! Discover how it suggests formulas, analyzes data, and offers insights like total cost by date. This video showcases smart features that streamline your data analysis and visualization. Don’t miss out on maximizing your efficiency with CoPilot!


Reminder